
HOW TO WASH YOUR BIKE
The best service you can give your bike is a good old-fashioned clean!
The products mentioned in this article and associated video are the preferences of Veloworld bike mechanics. We are not sponsored or endorsed by any of the products or brands and other products are available.
It might not be the most exciting part of being a cyclist but keeping your bike clean and well lubricated is essential to bike maintenance and having your bike run at its peak performance. In this post we’ll explain why getting into a bike cleansing routine is important and provide you with our top tips to getting your bike squeaky clean.
What happens when my bike gets dirty?
Any build-up of grease, dirt and grime on your bike’s moving parts will start wearing components off and will eventually need replacing. So roll your sleeves up, get the garden hose out and save yourself some money!
How often should I wash my bike?
Riding in Scotland (especially during the winter) means your bike will undoubtably come into contact with mud, road salt and other contaminants every time you go out on the road. Try to get into the habit of giving your bike a good clean every 2 or 3 weeks in the summer, and as often as you can during winter months. Ideally you should at least rinse your bike every time you go out during winter to get rid of road salt.
What you’ll need
A garden hose, we don’t recommend using a pressure washer as there’s a good chance it’ll remove the ‘good grease’ in your bearings and other moving parts.
A selection of brushes and tools to clean your gear cassette. We use Park Tool’s GSC-1 GearClean™ Brush, Tapered Detail Brush, Soft Bristle Soaping Brush, and Muc-Off’s Detailing Brush.
A biodegradable and environmentally friendly bike wash fluid such as Fenwicks Concentrate Bike Cleaner. Microfibre cloths or rags (a ‘dirty’ one and a clean one)
Chain lubricant
How to wash your bike in 4 easy steps

Step 1
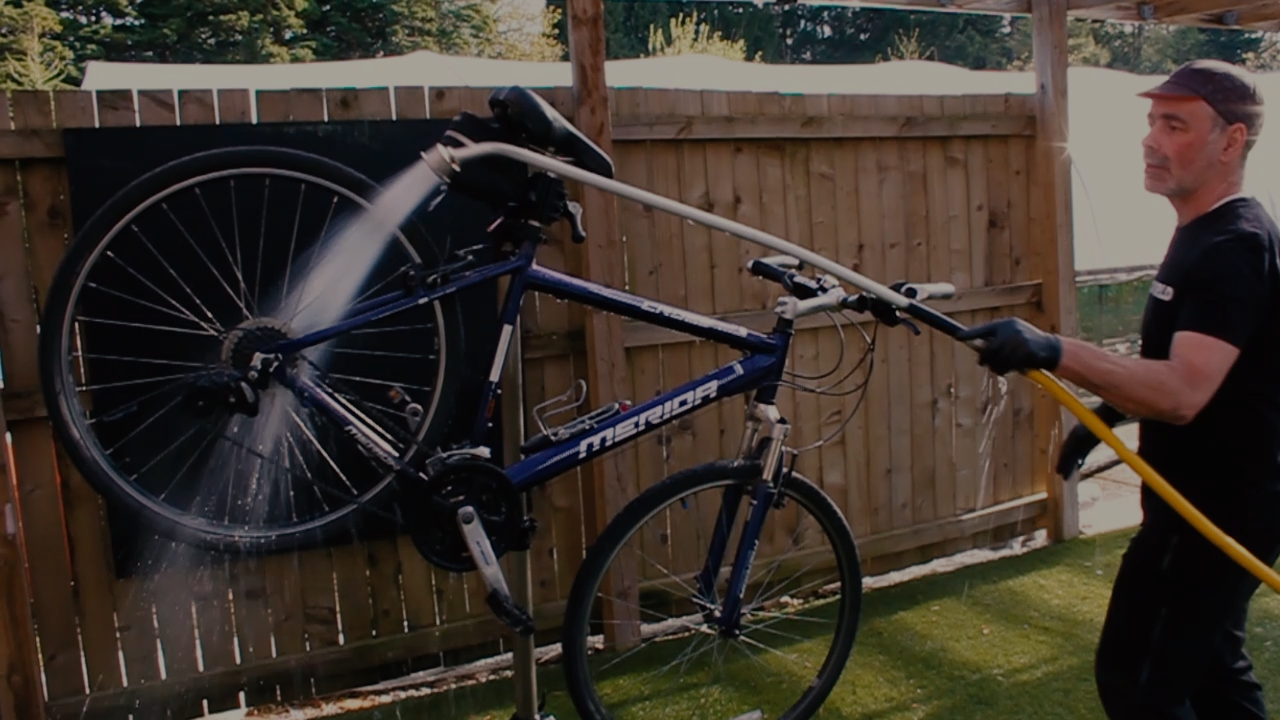
RINSE & SPRAY
Use your hose to rinse the bike on both sides, holding it over the bike and allowing the water to fall from the top to the bottom. Spray your bike all over with the bike cleaner, it’ll take 30 – 60 seconds to start working.
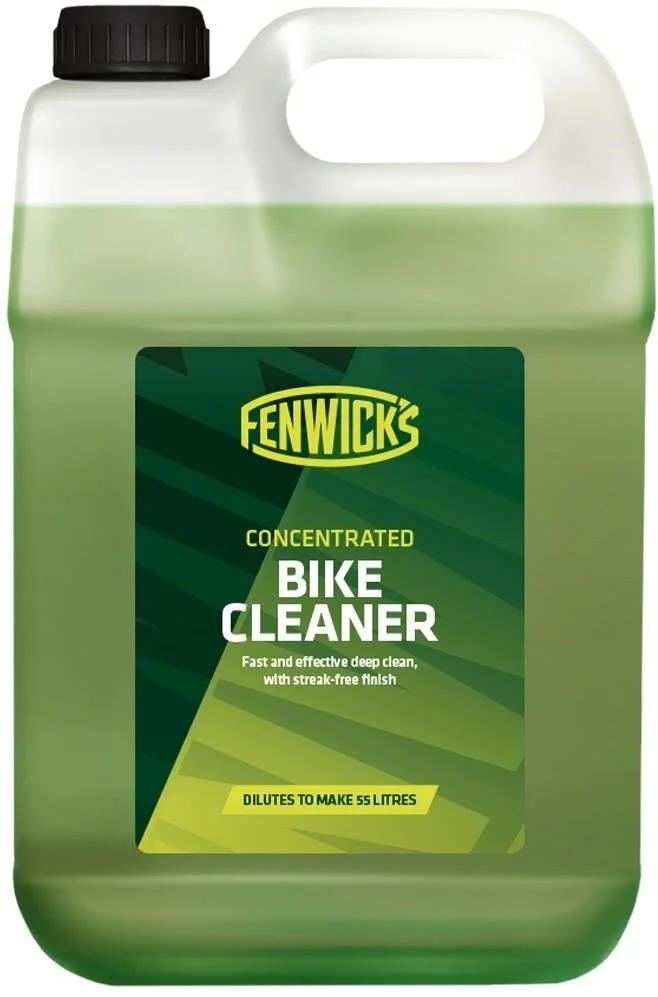
As mentioned we use Fenwicks Concentrate Bike Cleaner at the Veloworld workshop, it comes as a concentrate which means you get twice as much for your money and it doubles up as a degreaser. It also smells great and it’s environmentally friendly… what more could you ask for?

Step 2
GET SOAPY!
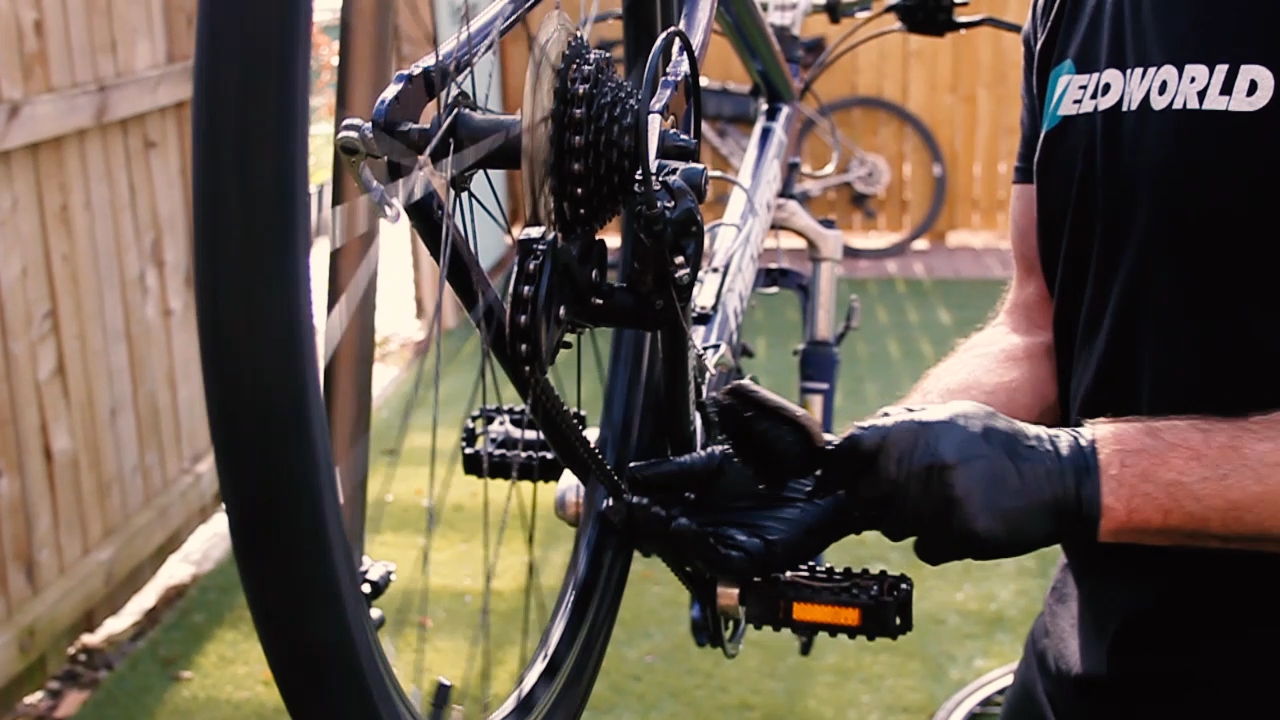
Use a soft bristle brush to clean the entire frame and wheels.
If you have rim brakes it’s a good idea to disconnect them at this point and clean the pads with a hard bristle brush. It’s a good idea to remove the wheels and give them a good clean too, paying particular attention to the braking surface. Clean the fork, the wheel’s spokes and hub (the centre part of the wheel).
If you have disc brakes, we don’t recommend using soap around the rotors or inside the callipers (although Fenwicks FS-10 Bike Cleaner states it’s safe to use on disc brakes). The best way to clean the rotors is with pure alcohol and a microfibre cloth, cleaning them until they squeak and leaving them to dry.
And now for the dirty bits of the bike - the drive train, the front derailleur, rear derailleur, cassette, chain, pulley or jockey wheels.
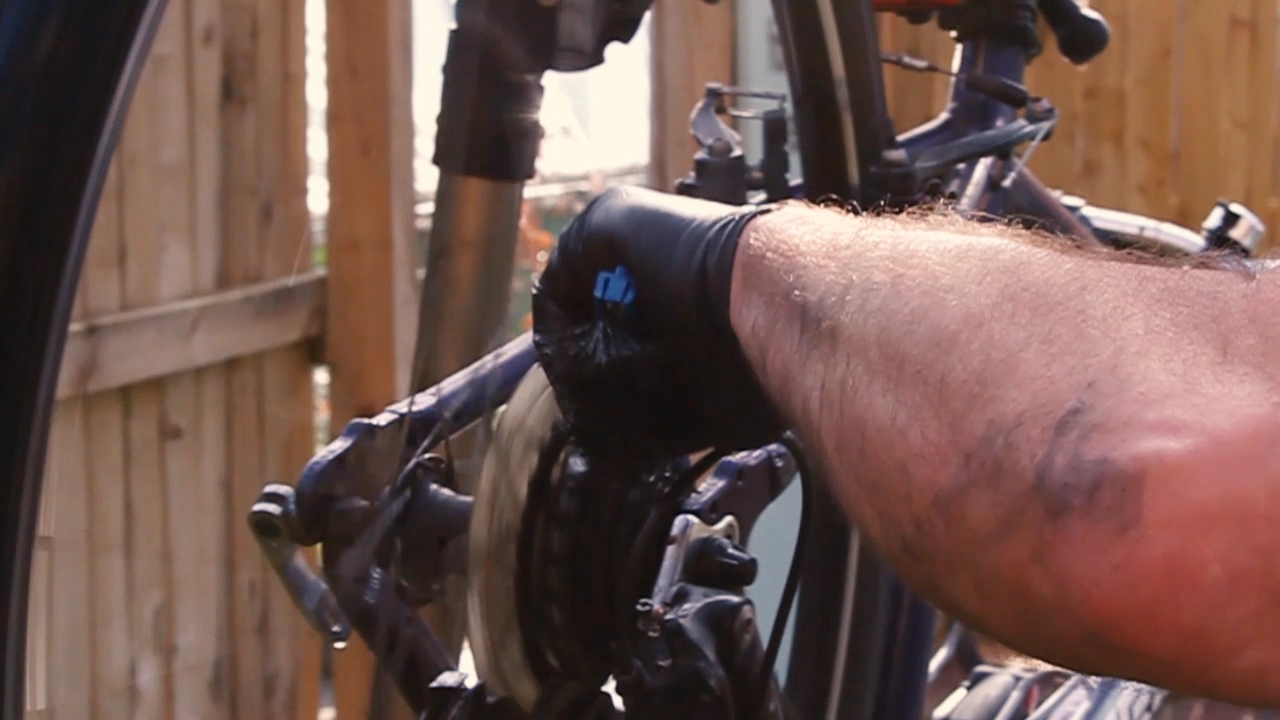

The Chain: Using a degreaser and a hard bristle brush such as the Muc-Off Detailing Brush start by brushing your chain, dipping your brush into your degreaser. It’s important to wash the inside of the chain as this is the part that’s actually in contact with the cassette and goes through the derailleur.
Pulley Wheels: These always gather a lot of nasties, so use the curved, toothed-end of a gear cleaning brush (such as Park Tool’s GSC-1 Gear Clean Brush) to clean out the dirt from the pulley wheels.
Cassette and Chainrings: Stick with the gear cleaning brush and dip the bristled end in degreaser, put it in the assette/chainrings and turn the pedal forward, changing gears to make sure you get to all areas. If your assette is really clogged up, use the curved, toothed-end and put it between the sprockets to lift off all the bad stuff.
Front and Rear Derailleurs: Use the gear cleaning brush to give these a good clean while continuing to dip the brush in your degreaser, they always accumulate lots of grime.
Step 3
RINSE & REPEAT/DRY
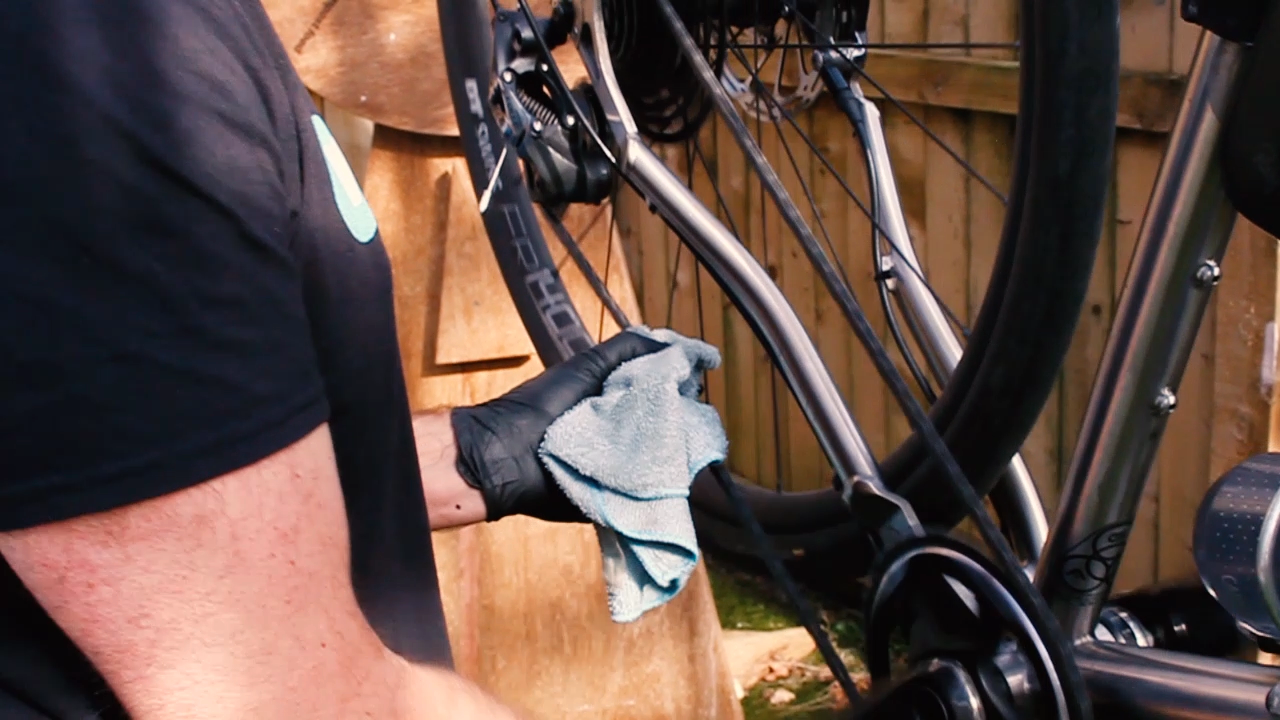
Give the bike a good rinse and feel satisfied as you watch all the dirt falling off! Make sure you get rid of all the soap, especially in your brake pads and rim. Repeat any steps if necessary if there’s still some dirt lingering. Use a towel or leave everything to air-dry before lubricating.

Step 4
LUBE UP!
There are lots of different types of chain oil on the market, and what you use will depend on conditions.
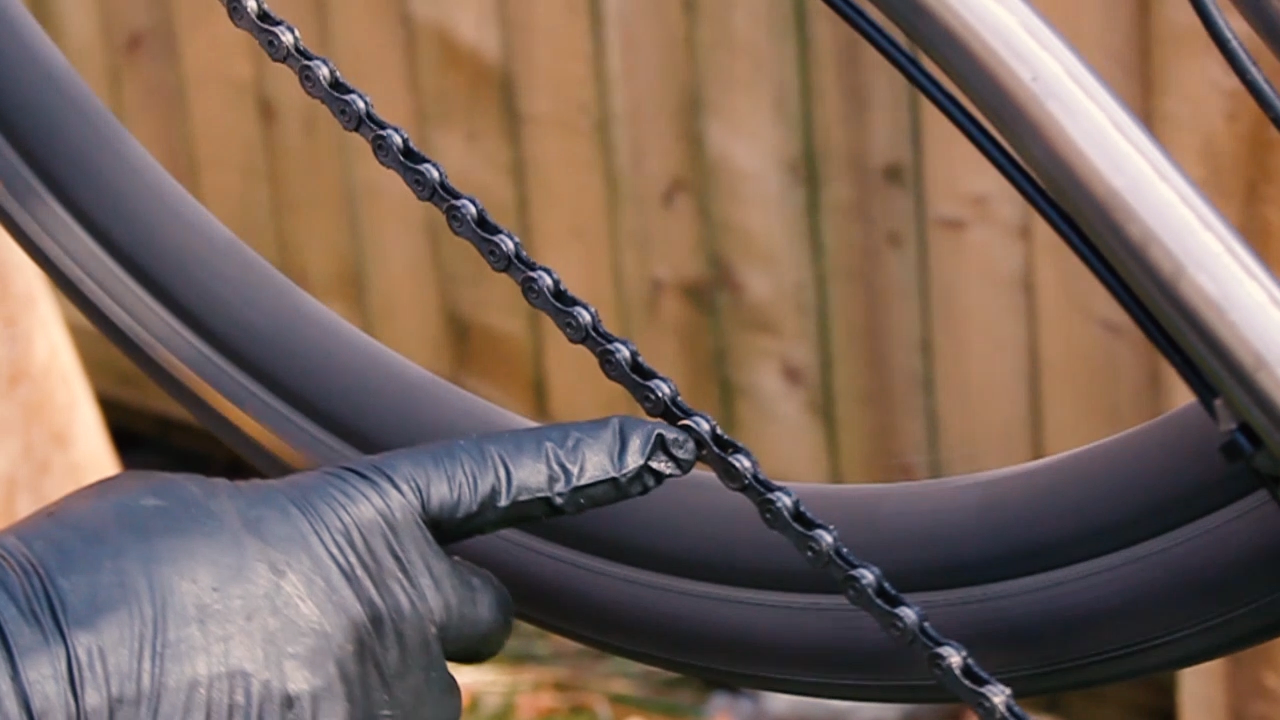
The Chain: When lubricating the chain, start by finding a different looking link called the quick-link, most modern chains will have one. Use this quick link as your reference point and put one drop of lubricant in each link, all the way around the chain until you meet the quick link again.
Then grab a dirty rag and place it underneath the chain, and back pedal a few times. So the excess oil that is inside each link starts coming out and landing on the rag, not touching the rim or any other clean parts. Let the oil come out and then wipe it off. You don’t want oil all over the chain as this will gather dirt, you want the oil to be right where it needs to be – inside each link of your chain.

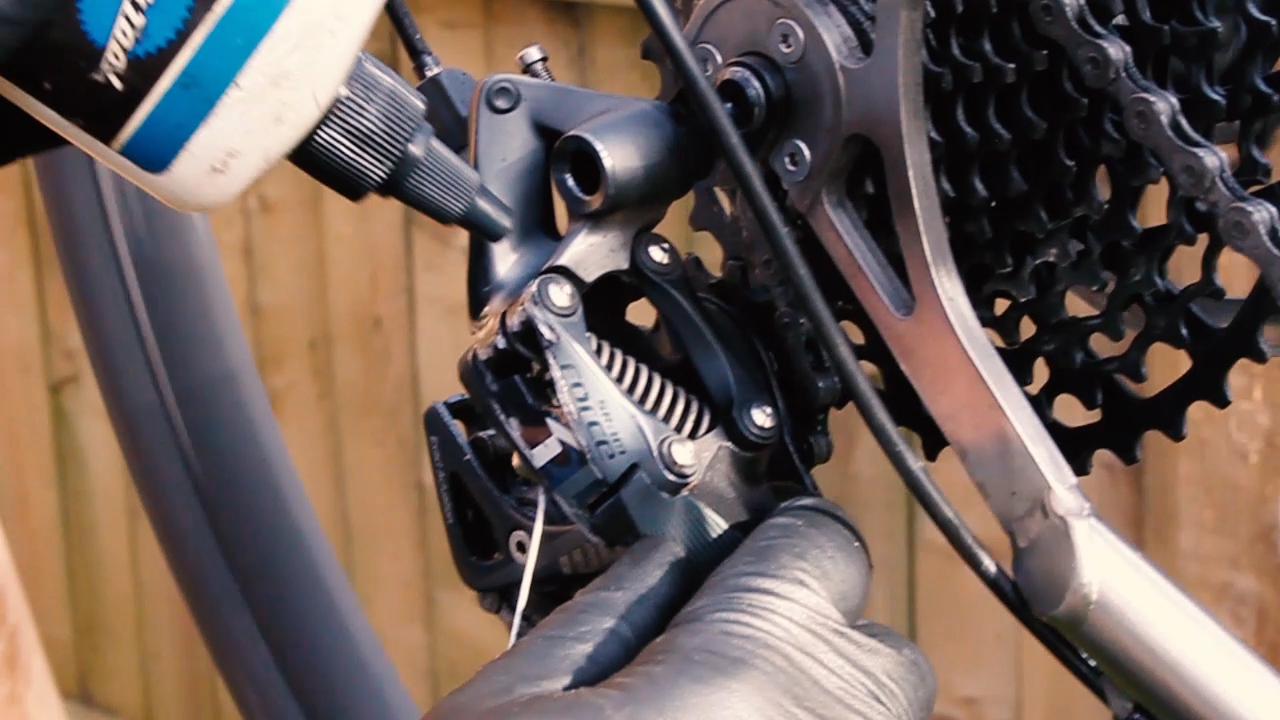
Grab your oil again and in each part of the bike which moves and has bearings (such as the pulley wheels, front and rear derailleurs), put a tiny drop of oil then rub it off.
Then stand back, feel smug and admire how clean your bike is!
Remember, a clean bike will run more smoothly, last you longer, save you money and be more enjoyable to ride.
Want to learn more?
We offer a wide range of maintenance training, and welcome all abilities to learn with us. Classes are hosted by a skilled and friendly bike mechanic and structured to equip you with specific maintenance skills.